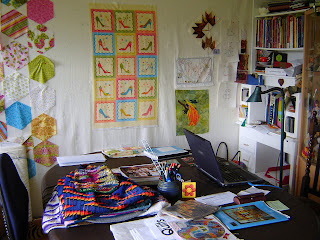
My daughter and I moved into our house just over a year ago. I bought the land and built a house , NOT with my own hands, but I did have a hand in designing it. It's a small house on a steep block of land in a rural setting. My most important criteria was that I have a studio in the house and it needed to be a big room. When I showed the plans to the floor covering people, the woman said, "I like the way the largest room in the house is the studio!" Most of the house is carpeted, including my studio which I don't feel is ideal but does keep the continuity.
I am going to write a series of posts about different aspects of my studio. This first post takes a look at the walls and general area. The next are specifically about storage- large and small - and finally I'll show you things I like that might be of interest.
My studio is approximately 16 metres square, being 4m x 4.1m. It is south- east facing with a big window and door in that wall so it gets plenty of natural light and looks out on a grassy hillside slowly being encroached on by other houses. My sewing machine usually sits on the work table near the window. Sometimes I have another machine set up on my large English Oak Jacobean dining in the centre of the room too.

Pop back again in a couple of days for the next post. Thanks for reading.


Enjoyed reading about your studio and I'll return for the next in the series.
ReplyDelete